Global Print-on-Demand Fulfillment Company for Wall & Home Décor
We are the world’s largest print-on-demand manufacturer specializing in high-quality personalized wall and home décor.
For POD Platforms
For Retail Stores
For E-Commerce
For Hospitality
For Artists & Designers
For Commercial
Your complete print fulfillment solution.
As your global print fulfillment partner, we offer end-to-end services tailored for modern businesses: standardized manufacturing based in the U.S. that is built to scale during the peak seasons of POD and nimble enough to handle one-off or bulk orders with ease; in-house art and licensing; and a strategic footprint of facilities across the globe to make it all happen.

Print-On-Demand Manufacturing
Access an expansive catalog of high-quality custom wall and home décor products made-to-order on demand and fulfilled regionally. With U.S. and international facilities, you can maintain zero inventory and grow your margins through our scalable print-on-demand solutions.

Content Design Services
Through our World Art Group brand, we offer custom and licensed content, hand-touched embellishment services like gold leafing, and art curation. Our trend forecasting, market research and competitive analysis help you create distinctive, market-ready visuals.

Hospitality & Commercial
Leverage our vast bespoke content, curated wall décor, and premium framing options to elevate your commercial or hospitality spaces. Personalized, hand-crafted solutions cater to the high standards of hotels, interior designers, and real estate developers.

Bulk Order Fulfillment
Through our American-made products, you can avoid shipping container costs, customs, duties, and tariffs. Domestic production results in shorter lead times, as fast as a week versus months from overseas. We deliver bulk orders quickly, and order minimums start at just a single pallet.
Streamlined POD fulfillment solutions for your brand.
Our flexible software solutions allow for seamless onboarding, enabling customers of all sizes to work with us quickly and effectively. From up-and-coming creators and other creative professionals to large businesses, we are ready to work with you to help your business grow.

Direct
No Integration Needed
Self-service using our Sensaria GO manual ordering platform to fulfill print-on-demand wall & home décor. Sign up and order the same day, no integrations or software development needed.

Creator
Intermediate Integration
Connect your e-commerce store on popular POD platforms such as Shopify, BigCommerce, WooCommerce, and others through our OrderDesk integration.

Enterprise
Advanced Integration
Larger businesses can leverage our seamless OnePoint™ API integration to gain access to an intuitive customer portal, advanced order management, 3rd party shipping, and more.
Globally accessed. Regionally fulfilled.
With 3 U.S. Sensaria facilities and 6 JONDO Global facilities, our regional fulfillment model gives your brand access to global reach with local speed in areas with thriving wall & home décor markets.
590K+
combined square footage
3
domestic U.S. facilities
6
global facilities

We take care of your POD
manufacturing needs
so you can focus on
building your business.
Why Choose Sensaria for Print Fulfillment
Built for Speed
& Scale
We utilize the latest in print and automation technologies to achieve standardized quality at scale across our 11 locations spanning 3 continents. Your orders automatically route to the nearest print center to reduce transit times.
Art Quality
Standards
Our roots are in fine art, and weâve produced prints for some of the worldâs top artists. This world-class quality standard continues today in the products we make for customers of all types, including general consumers and established creative professionals.
Unparalleled Offerings
Our wall & home décor products are best in class, and we offer the products your customers want. From canvas prints with beautiful floater frames to breathtaking ChromaLuxe metal prints to personalized pillows, blankets, and even water bottles, weâve got you covered with over 4,000 product variations.
Support for
Your Growth
Weâre more than just a print providerâwe want to invest in your success as your partner in print. Our team of industry experts is here to work with you to refine your product offerings, optimize your operations, and help scale your business.
6M+
units shipped worldwide in a single year
200+
digital printers
4,000+
product variations to choose from
We make the products you and your customers love.
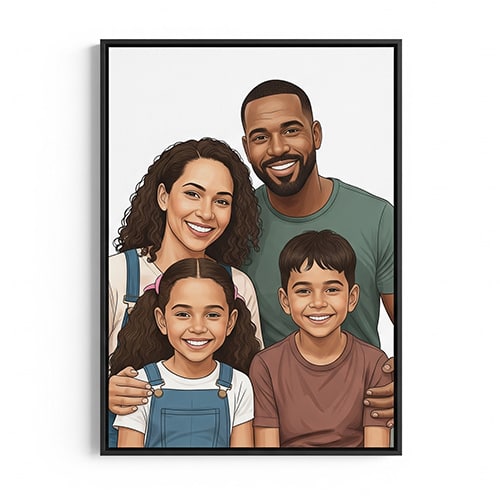
Canvas Prints
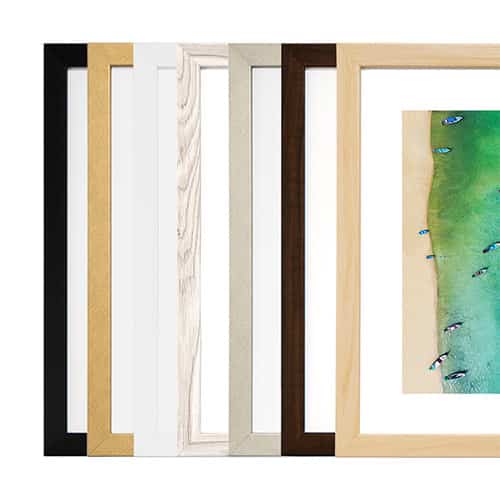
Framed Prints
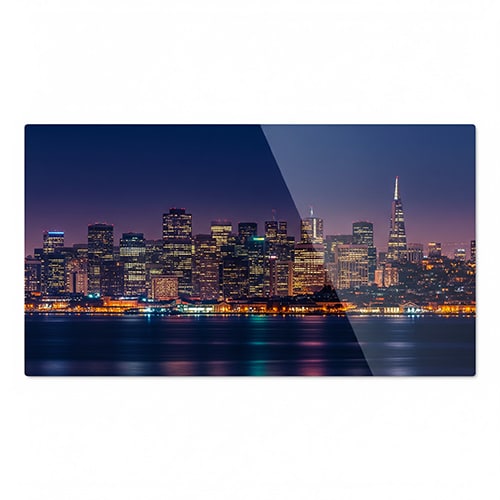
Metal Prints
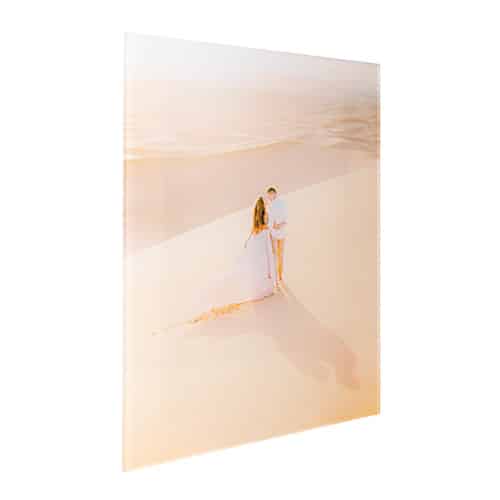
Acrylic Prints
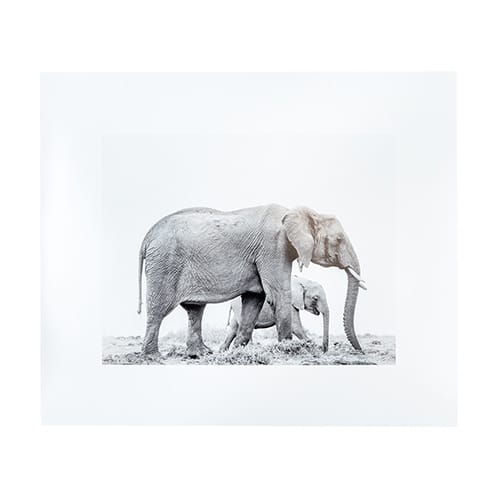
Art & Poster Prints
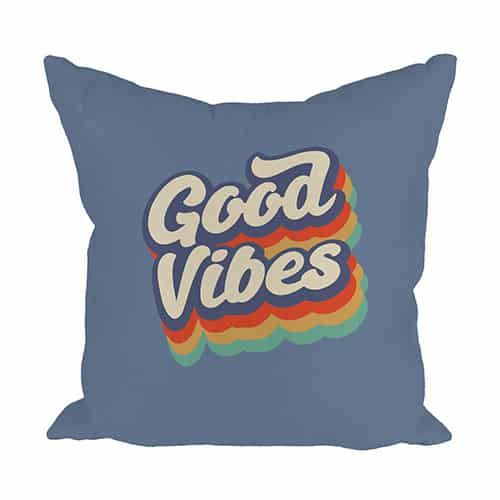
Pillows
Blankets
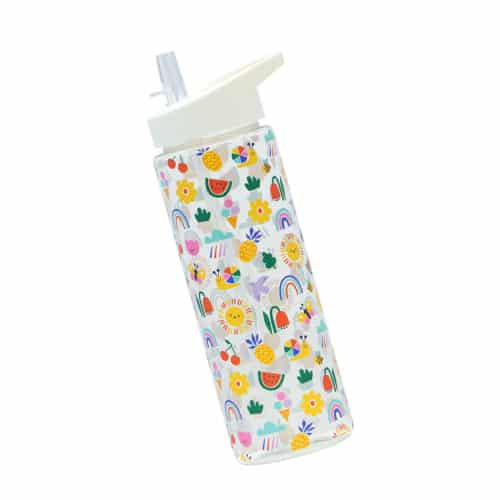
Bottles & Drinkware
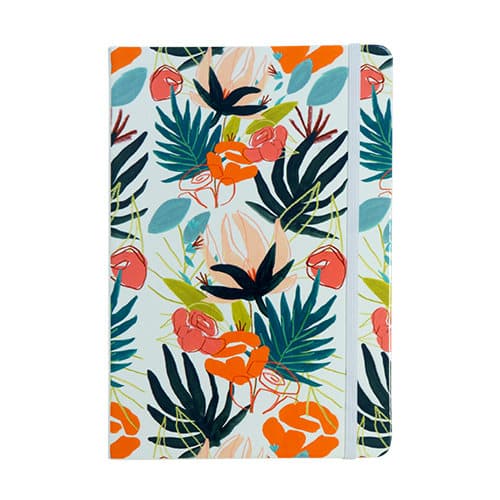
Notebooks
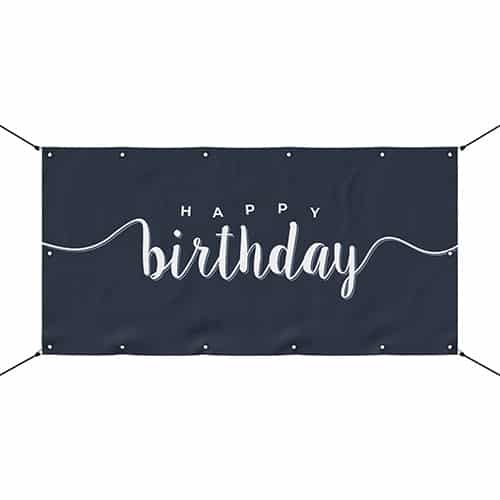
Banners
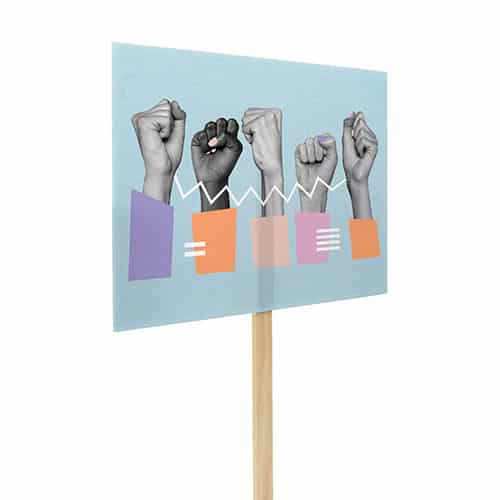
Rally Signs
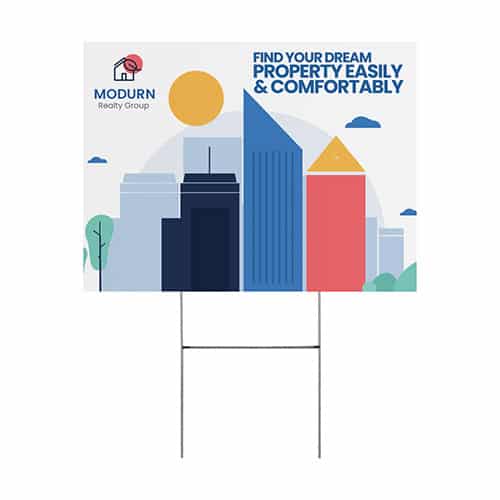
Yard Signs

Weâre more than ready to meet your print fulfillment needs with our expansive catalog of printed products. These include popular wall décor, such as canvas prints, framed prints, and metal prints as well as trending home décor items, such as custom pillows, blankets, and drinkware.
